
Disassembly and assembly methods for rotary joints
Disassembly and assembly methods for rotary joints
Do you know the methods for disassembling and installing rotary joints? The disassembly and assembly of many things is not simple, and rotary joints are also one of them. Today, I will talk about the disassembly and assembly method of rotary joints: When installing the rotary joint, it is necessary to face downwards, install the spring below, use hydraulic pressure to support the spring and put on the sleeve. If there is no hydraulic equipment, you can use a stick of similar size to press the spring to the position of the water inlet. Insert a longer iron bar into the water inlet to reduce the chance of the spring popping out and injuring people. After compressing the spring, place the copper pad, flat pad, O-ring, tapered graphite, and hollow bearing sleeve in sequence, and then the rotary joint is installed.
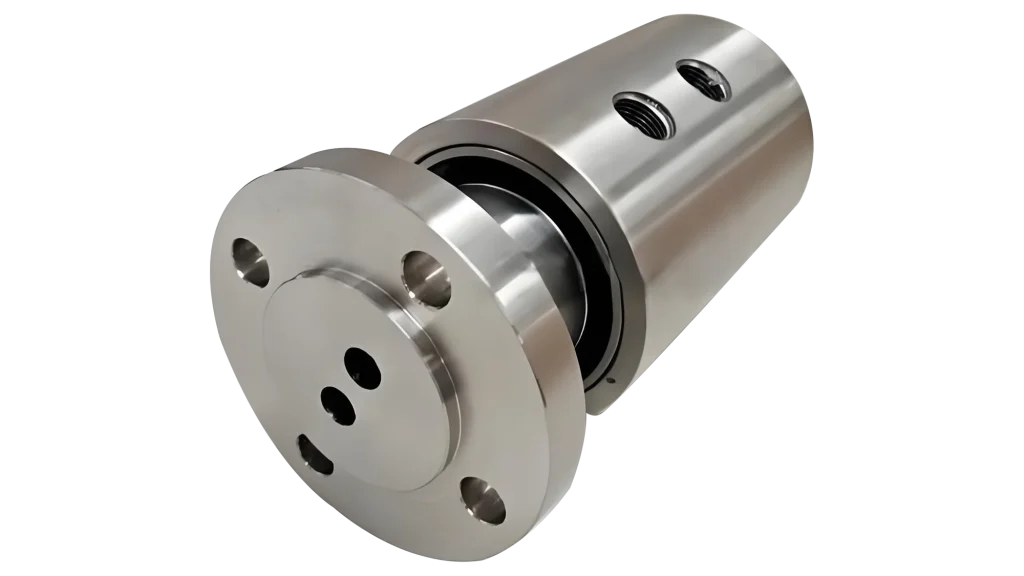
1、 Disassembly steps
Dismantle external components
First remove the metal hose/piping and loosen the fixing screws;
If there are sheet metal covers or baffles (such as equipment protective covers), they should be disassembled first.
Separate the main body of the joint
Use a wrench of the corresponding specification to clamp the dedicated slot inside the joint, and rotate counterclockwise to loosen the connecting nut (the conventional thread direction is opposite);
The hydraulic wrench connector needs to first unscrew the cover screw, pull out the connector body, and then separate it. Remove the sealing component and use a pointed tool to pick out the old sealing ring along the outer edge of the seal (to avoid damaging the groove); Take out the retaining ring, bearing, graphite ring and other components in sequence (record the order for easy reassembly).
2、 Installation steps
Cleaning and Inspection
Thoroughly clean the flow channel of the shell, remove impurities such as iron filings and water rust;
Check if the bearings and graphite rings are intact (without cracks/deformations).
Seal installation (core)
The order cannot be reversed:
① Spring pressed into the bottom of the shell → ② Copper gasket → ③ O-ring →
④ ring (align the anti rotation pin with the groove) → ⑤ Insert the bearing by tapping lightly → ⑥ Fix the retaining spring
Floating seal model:
Align the cut of the resin sealing gasket with a 1:80 ratio of misalignment;
After installing the spring into the slot, test the resilience of the floating base.
Overall assembly
The rotor end is fixed with a bench clamp, and the end face is 1-2mm lower than the nut after the hose is inserted;
Apply adhesive to the connecting nut and tighten it 1.5-1.75 turns (over tightening can damage the seal).
3、 Key precautions
Error proof design
Distinguish the direction of static/dynamic rings (some models are asymmetric on the left and right); During the installation of the inner pipe, avoid puncturing the sealing surface of the static environment.
Test validation
After installation, manually rotate the bearing and check for any jamming; Low speed no-load test for 5 minutes, with no leakage, then gradually increase pressure.
After we disassemble and clean the impurities inside the rotary joint, some friends may be confused and don’t know how to install it. The fixed bearing of the rotary joint is located below the hollow shaft and has a semi-circular sleeve. It can be removed with pliers and the hollow shaft can be held down by hand to reduce the risk of injury caused by spring ejection; After removing the bearing, there is a conical graphite seal underneath, which is the main component of the seal. There is a hard film on the surface of the graphite ring that looks like glass. Be careful to remove it and place it on clean paper, so as not to scratch the graphite surface. Otherwise, even small scratches can cause joint leakage; After removing the graphite, the following are in sequence: O-ring, flat pad, copper pad, and spring. That’s it. Customers and friends need to know that improper operation or scratches or dust on graphite seals during installation or disassembly can cause leakage during installation.